My creative girl got a John Lewis mini sewing machine (fab little sewing machine that does all the basics) for her 7th birthday. Her first project was a hair scrunchie. Next she wanted to do something a little more adventurous and sew her pal a quilt for her birthday that's coming up.
This quilt is super duper easy. As Zoe is still new to sewing, I kept a very close eye on her to save us any trips to the Sick Kids Hospital. She did really well. Not always straight, but this is a forgiving quilt.
Here's a how-to:
Lay out your quilt top onto a larger piece of fleece, right sides together. Pin. To make this easy, we used a single piece of fabric, rather than doing any kind of patchwork. Zoe found a Michael Miller Morning Fairies panel in my stash.
With tongue out, sew around the outermost edges.
Leave a gap (I put double pins to show her where to start sewing and where to stop).
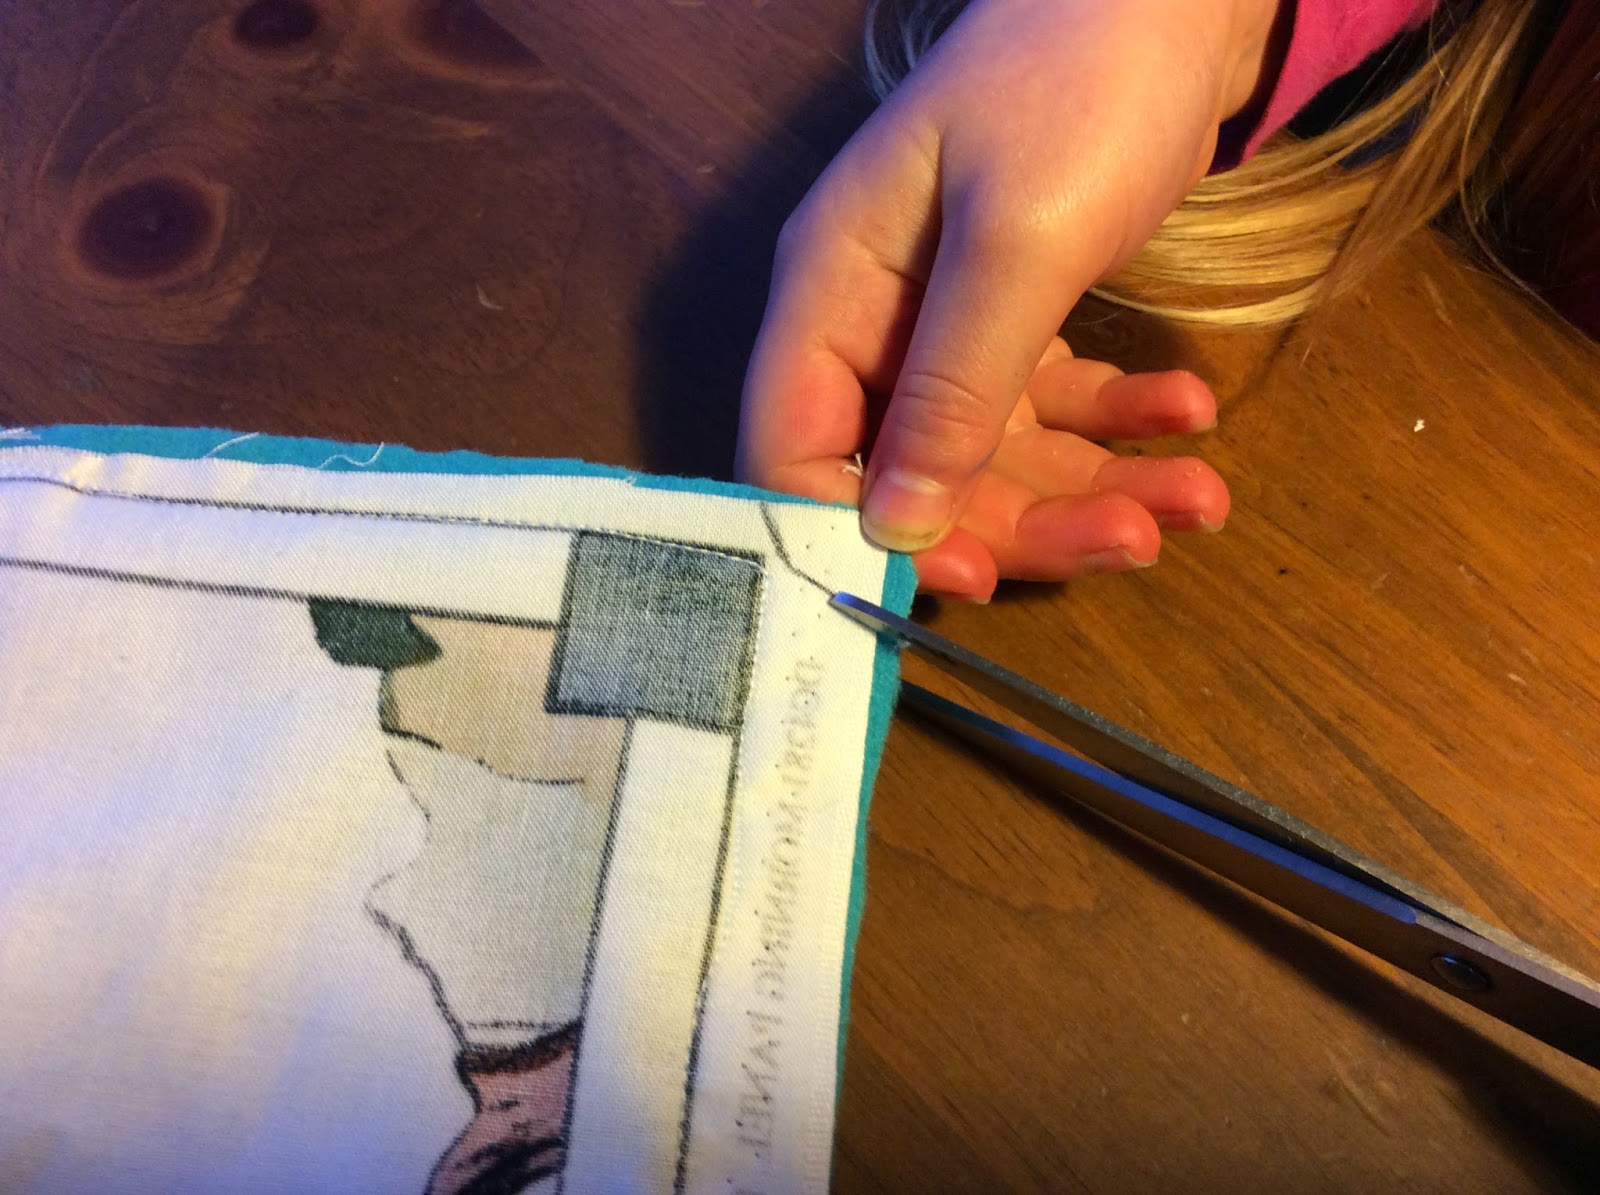
Cut away the excess fleece. This is very difficult for a left handed 7 year old with right handed scissors.
Make a mark so they can see where to clip the corners.
Turn it right-side out. This was hilarious for some reason. I'm not sure why.
Tuck the edges of the opening in, and pin together.
Sew the opening closed, by carefully following the pins. It's very close to the edge so be careful.
Now sew
about 1cm in from the edges. We stopped shortly after this pic was taken
to pin 1cm in all around the edge, as the fleece has a habit of
creeping in.
Now for
the quilting. I didn't have one of those fading-ink pen thingies, so I
pinned down the long centre, and Zoe followed the pins, removing them
one at a time.
To
quilt across the middle, we had to roll up one side of the quilt. This
machine is quite wee and it wouldn't have handled a much larger quilt.
Ta
daaa!! A simple enough quilt, but it took us a good couple of hours. I love the wonkiness of her sewing, it's definitely made by a 7 year old beginner.
I'm very proud of my little Quilty Kilty Junior!
Here's another example of this easy peasy fleece-backed quilt:
Using the same technique I made this quilt for my friend who had a baby boy. No need for piecing together a quilt top with a pattern like this.
From the back- I did a fair bit more quilting compare to Zoe's quilt. It adds more texture, but you really don't need to.
Using this technique you can also make a quilt using only fleece. I made these two blankets for my kids years ago, and they are still a firm favourite. It was really easy to applique with fleece on fleece, as it kind of sticks to itself.
I'm looking forward to making more projects with my new sewing pal in "the sewing club" as she has nicknamed us!